Learn how to copy or download files and folders using SCP Remote to Local.
Secure Copy Protocol (SCP) is a file transfer protocol that lets users safely and quickly copy files between remote and local computers. It uses an encrypted channel to securely transfer files.
Here is a table with more info on the SCP File Transfer Protocol:
| Term | Definition |
|---|---|
| SCP | Secure Copy Protocol |
| Remote host | Computer in a different location |
| Local host | Computer user is working on |
| File transfer | Sending or receiving files |
| Encryption | Encoding data so only authorized parties can use it |
Be aware that SCP runs on top of SSH, which provides encryption for secure data transmission. Unlike FTP, SCP encrypts all details before sending, making it more secure.
Also, SCP supports remote command execution with SSH. This lets users remotely run commands on a server and keep all communication encrypted.
Pre-requisites for Using SCP
To utilize SCP, some prerequisites must be fulfilled. These prerequisites serve as a basic guide for smooth file transfers between local and remote systems.
| Step | Description |
|---|---|
| 1. Connect to Remote System | Make a connection with the remote system via a dependable internet connection or server. It’s essential before initiating any file transfer. |
| 2. Authenticate Credentials | To authenticate credentials, use valid login details such as usernames and passwords to get access to the remote system. This is necessary for secure file transfer operations. |
| 3. Check File Permissions | It’s important to confirm that right file permissions are set on both local and remote systems prior to launching the transfer process. |
Confirm that both systems have OpenSSH installed for successful SCP file transfers.
SCP Remote to Local: Copying or Downloading Files
To copy or download a file from remote to local using SCP, you need to establish an SSH connection to the remote server. In this process, identifying the source and destination paths is critical. Once you have done that, you can execute the SCP command to begin the file transfer. Therefore, establishing SSH connection, identifying paths, and executing the SCP command is the sub-section that we will be discussing briefly.
Step 1: Establishing SSH Connection to the Remote Server
Secure Shell (SSH) connection to a remote server is a must for copying or downloading files with SCP protocol. It grants users access to the remote server’s secure & encrypted command-line interface. Here are the steps to establish the SSH connection:
- Open a terminal window on your local machine. Type ‘ssh username@remotehost’. Substitute ‘username’ with your account name on the remote server & ‘remotehost’ with the IP address/domain name of the server.
- Press enter. You’ll be prompted for your password.
- Type your password and press enter. Note that you won’t see anything on the screen for security reasons.
- If successful, you’ll see a welcome message from the remote server on the terminal window.
- You can now navigate through directories with ‘cd’, ‘ls’, ‘mkdir’ commands, etc.
- To exit the SSH session, type ‘exit’ followed by enter.
After setting up the SSH connection, users can copy or download files securely between their local machine and remote server using SCP commands. But, make sure only authorized users access the remote server via SSH.
Step 2: Identifying the Source and Destination Paths
If you need to transfer files from Remote to Local with SCP, you must identify the paths of the source and destination. You can do this in five steps:
| 1. Connect to your remote server via SSH. |
| 2. Go to the directory where the file is located. |
| 3. Use the “pwd” command to display the working directory path. |
| 4. Copy and paste this as your source path in the SCP command. |
| 5. Find the destination path on your local computer and add it to the SCP command. |
Remember that paths are case-sensitive, so be aware of the proper casing when entering them. Also, make sure you have permission to access these files before attempting the transfer. If not, contact a system admin for help.
By doing this, you can easily spot and set the source and destination paths for transferring files using SCP.
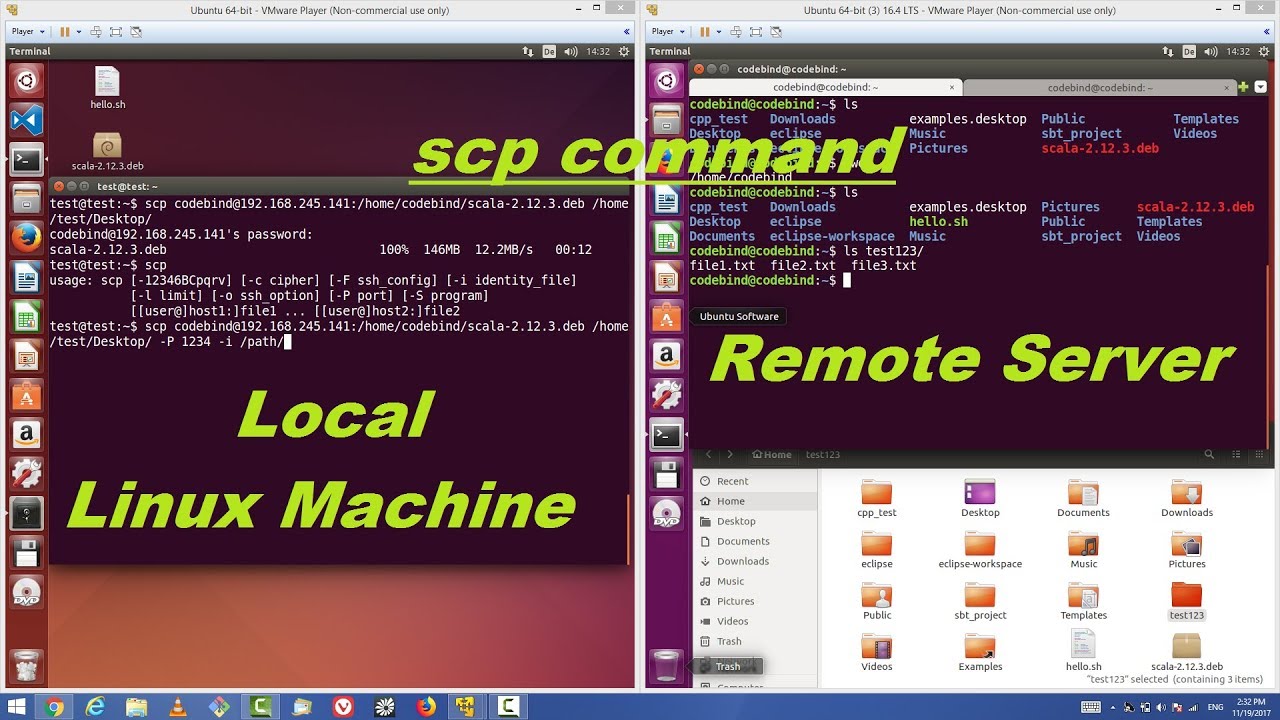
Step 3: Executing the SCP Command
To execute SCP command, follow these steps:
- Open Terminal or Command Prompt window.
- Type in SCP command with your desired filename.
- Enter destination path on your local machine where you want to save it.
- Hit the Enter key to start copying process.
Before running, make sure the file is on the remote server and accessible through SCP.
Now copy or download files easily from the remote server to the local computer!
Downloading Entire Directories from Remote to Local using SCP
To download entire directories from remote to local using SCP with the help of SSH, follow these easy steps. Firstly, establish an SSH connection to the remote server. Then, identify the paths of the source and destination folders. Finally, execute the SCP Command with -r option and transfer the entire directory to your local machine effortlessly.
Step 1: Establishing SSH Connection to the Remote Server
To start transferring entire directories from remote to local using SCP, you must first establish an SSH connection to the remote server. Here’s how:
- Open a terminal window on your local machine.
- Type in the ssh command followed by the username and IP address or hostname of the remote server.
- Press enter and wait for the password prompt.
- Type in your password and press enter again.
- You have now successfully connected to the remote server via SSH.
Establishing an SSH connection is a must for secure downloading with SCP. The data transmission is smooth, secure, and encrypted.
For extra safety, instead of passwords, use certificate-based authentication to log in via SSH.
Step 2: Identifying the Source and Destination Paths
To transfer directories from remote to local, it is important to identify their source and destination paths. This means knowing which files or directories from the remote server need to be moved and where they should be saved.
First, connect with the remote SSH server using an SSH client. Then, get the local system ready by navigating to the place where the file needs to be downloaded.
Next, find the absolute path of the remote directory by running “ls -l <remote_directory>“.
Finally, use the SCP command to specify the full path of both source and destination folders.
Remember, correctly identifying the file paths is key to downloading entire directories with SCP!
Step 3: Executing the SCP Command with -r option
To move entire folders from a remote to a local system using SCP, execute the command with the -r option. This will recursively copy all files and folders in the source directory.
Here’s how to use it:
- Open your terminal and type ‘scp’ followed by the source folder path.
- Add a space and type ‘-r’ for recursive copying.
- Add a space and type the target folder path.
- Include all subdirectories by adding ‘/*’ at the end of the source folder path.
- If remote and local usernames are different, include them in this format- ‘remote_username@source:/folder_location target_folder_location.’
It may take longer for large folders, depending on file size and Internet speed. Make sure both systems are configured properly for successful transfers.
Uploading Files from Local to Remote using SCP
To upload files from your local machine to a remote server, you can use the SCP command. In order to successfully perform this action, you need to establish an SSH connection with the remote server. Once the connection is established, you need to identify the source and destination paths for the files that need to be uploaded. Finally, execute the SCP command with the copy direction reversed to copy or download a file from remote to local.
Step 1: Establishing SSH Connection to the Remote Server
Before uploading files from local to remote systems using SCP, an SSH connection must be established. Here’s a five-step guide:
- Open a terminal window on the local system.
- Type ‘ssh’ followed by the username and IP address or domain name of the remote server.
- If prompted, enter the password associated with the username for authentication.
- Verify the RSA key fingerprint provided by the remote system.
- Confirm a secure connection is established, then proceed to upload files using SCP.
Note: If public key authentication is configured, a passphrase or authentication with the user’s private key may be necessary.
Establishing an SSH connection ensures secure file transfer and helps keep transmitted data confidential.
Step 2: Identifying the Source and Destination Paths
Need to transfer files using SCP? Here’s a quick guide on how to identify the source and destination paths.
| Step | Description |
|---|---|
| 1 | Open your local terminal window. |
| 2 | Type ‘cd’ followed by the path of the directory containing the file or folder you want to transfer. |
| 3 | Type ‘pwd’ to display the current working directory path. |
| 4 | Copy this path as it’s the source path. |
| 5 | Connect to your remote server using SSH. |
| 6 | Navigate or create a directory on the remote server where you want to store the duplicated file(s). |
Remember: properly identifying source and destination paths boosts efficiency and reduces errors during file transfers between servers.
Step 3: Executing the SCP Command with Copy Direction Reversed
To transfer files from local to remote using SCP, a third step is to copy a file or directory from the remote server to the local system.
Open the terminal and navigate to the local directory where you want to save the file. Run ‘scp -P [port] [username]@[remote host]:[file path on remote server] .’ Then, enter your password.
The specified file or directory will be copied from the remote server to your local machine.
Note: Stable internet connection and proper access permissions are essential for both systems involved.
Frequently Asked Questions
Q: What is SCP?
SCP (Secure Copy) is a command-line tool used in Linux and Unix-based systems to securely transfer files between hosts, whether local or remote.
Q: How do I copy a file from remote to local using SCP?
The basic syntax for copying a file from remote to local using SCP is:
scp [options] [username]@[remote host]:[source path] [destination path]
Replace the relevant parts with your own information to copy the file.
Q: What are the options for SCP?
Some commonly used options for SCP include:
-i: specify a private key file for authentication
-P: specify the remote SSH port number (default is 22)
-r: copy entire directories recursively
Q: Can I use SCP to copy a file from local to remote?
Yes, you can copy a file from local to remote using SCP. The syntax is similar to copying from remote to local, with the source and destination paths reversed:
scp [options] [source path] [username]@[remote host]:[destination path]
Q: Is SCP encrypted?
Yes, SCP transfers data securely using encryption protocols, such as AES, Blowfish, and 3DES.
Q: Are there any alternatives to SCP for copying files securely?
Yes, there are other tools like SFTP and rsync that can also be used to transfer files securely over the network.
Conclusion and Final Thoughts on SCP File Transfer Protocol
SCP file transfer protocol offers a safe and efficient way to move files between local and remote machines. Its syntax is straightforward, so users can quickly copy or download files to another system.
SCP offers more than just secure file transfers. It also allows users to run commands on remote systems and copy entire directories.
Though it has limits when handling complex tasks, SCP remains a favorite for many IT professionals.
In conclusion, the SCP protocol is a reliable solution for secure and fast file transfers. Its user-friendly interface and versatility make it an outstanding choice, especially for smaller data transfers.